To add a journal entry:
Access the application.
Select Accounting
from the top menu bar. Select
General Ledger Transactions from
the dropdown menu.
The General Ledger screen will
appear and will default to the Receive
Deposits tab.
Select the Make
Journal Entries tab.
The Make Journal Entries
screen will appear.
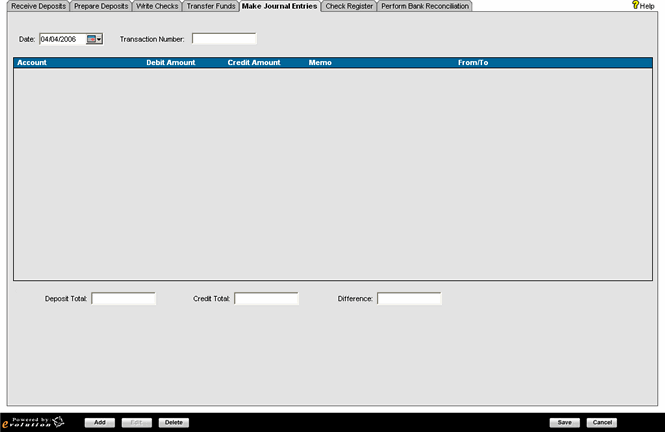
Optional: Select the Date box and change the date.
Select the Transaction Number box and enter the number for the transaction that you are about to record.
Click Add.
Note: Two
new lines will appear in the Make Journal
Entries browse list the first time the Add button is selected.
After that,
selecting the Add button will only add one additional line.
Select the Account box and choose an account from the dropdown list.
Note: Bank accounts will only appear in the Account dropdown if the user has been granted permissions to see the bank account within Security Administration under the General Ledger - Make Journal Entries - Bank Accounts section.
If recording a debit, select the Debit
Amount box and enter
the amount.
—
or —
If recording a credit, select the Credit
Amount box and enter
the amount.
Select the Memo box and enter a memo.
Select the From/To box and enter who or where the credit is from/to.
Repeat steps 6 - 10 for each transaction.
If the first entry is a debit,
then the credit entry that corresponds to that entry will default
to the existing debit amount for the transaction. If
the credit entry is input first and a corresponding debit entry is being
made, then the entry will default
to the existing credit amount for the transaction.
The defaulted Debit and Credit boxes are editable, but each
successive entry will default
to the amount remaining to make the total difference between debits and
credits $0.00.
Click Save
to commit the information, or click Cancel
to abort the addition.
Journal entries cannot be saved until the Difference
box reads $0.00.