Once the Clothing Issued information is added, you have the option of printing a clothing issued receipt.
To print a clothing issued receipt:
Access the inmate record you want to use.
Click the Clothing tab at the top of the record or point to Booking on the side menu and click Clothing on the menu that appears. The Clothing screen will appear, displaying all clothing size and clothing issued fields.
Click the Print button in the lower-right corner of the Issued Clothing pane. The Clothing Issued Receipt pop-up will appear. The Description, Quantity, Dates, and Conditions information will appear for each issued item. The Signature info (the text below the Inmate Signature line in the following screen shot) is configurable by an administrator through the System Setup function.
Click Print to print the receipt.
A popup will appear, displaying instructions for printing. Follow the instructions to complete printing the receipt.
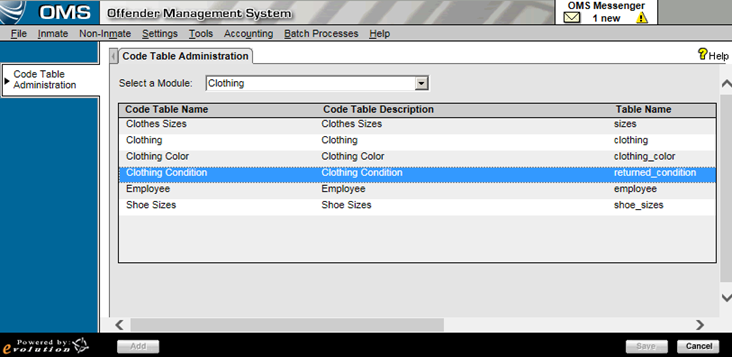
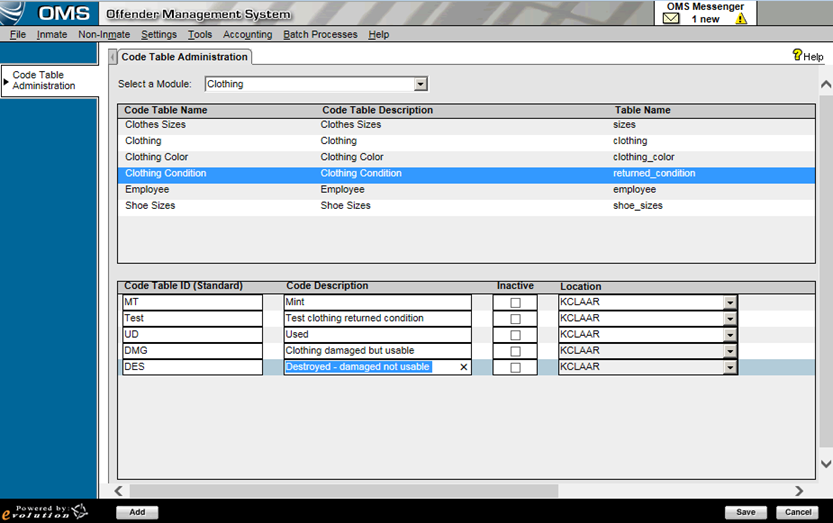
Note: To set values for Clothing Condition, select Code Table Administration from the
Settings menu, then Clothing
from the Select a Module dropdown.
Double
click on the Clothing Condition
line to open the code table. To add or edit condition types, Select
the Add button and add condition
types. To save your changes click the Save
button.
![]()