Adding a Security Threat Group

To add a security threat group:

  1. Access the application.

  2. Select the Settings menu and click Security Threat Groups.

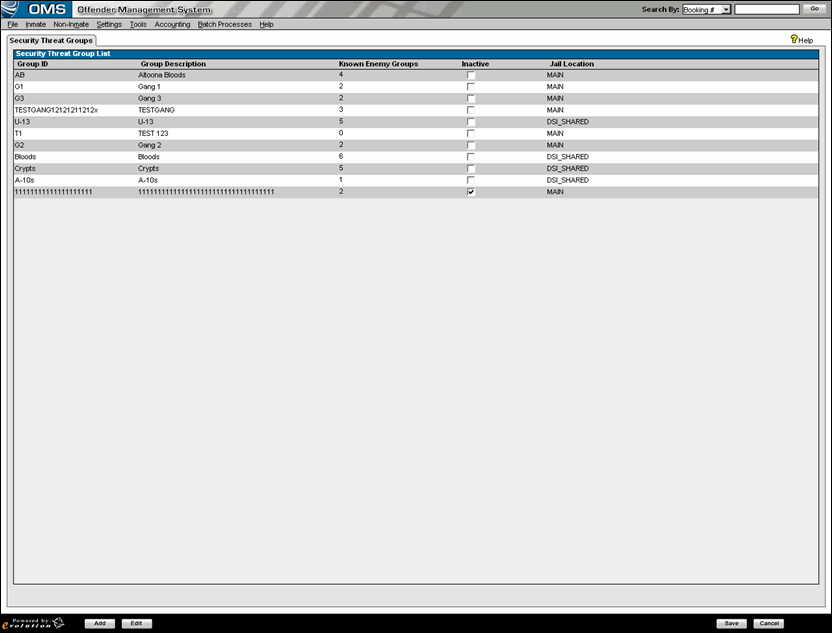
    The main Security Threat Groups screen will appear, displaying all previously entered security threat groups in a browse list.

    Security Threat Groups

  3. Click the Add button.

    A new row will appear in the Security Threat Group List pane.  

    Security Threat Group List new row

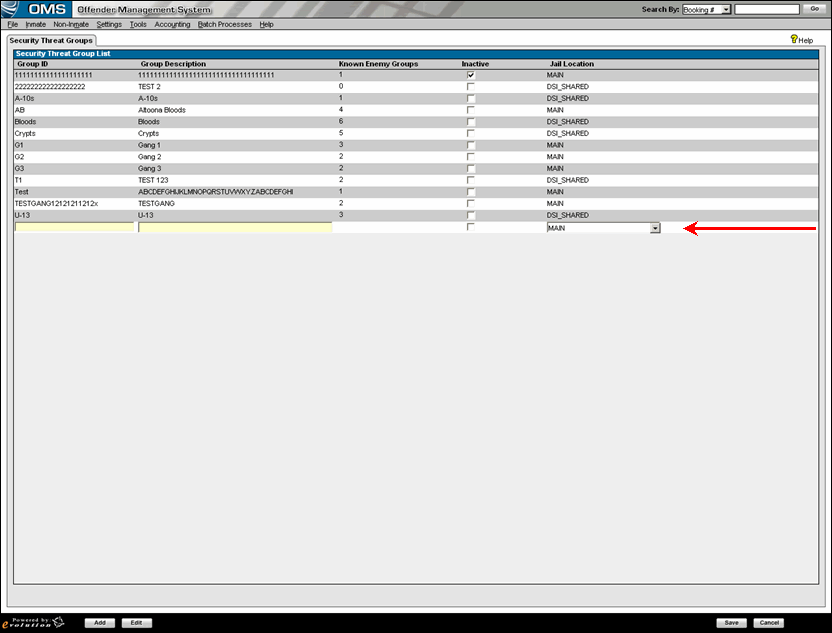
  4. Select the Group ID box and enter an ID for the group.  

  5. Note: The Group ID field will become read-only after the record is saved.  You will not be permitted to modify the value in Group ID once the record is created.  

  1. Select the Group Description box and enter the description of the group.

  2. Optional: Check the Inactive checkbox to make the Security Threat Group inactive.  

  3. Select the Jail Location box and choose a jail location from the dropdown list.  

  4. The jail location that you are currently logged in to will be defaulted in this field.  If the Jail Location is set to DSI_SHARED, a Jail Location column will become visible in the Known Enemy Groups browse window.  You can then set the relationship with each enemy gang as a single location or shared.  

    Jail Location column

  1. Click Save to commit the information, or click Cancel to abort the addition.

    Once saved, the newly added security threat group will appear in the Security Threat Group List pane.