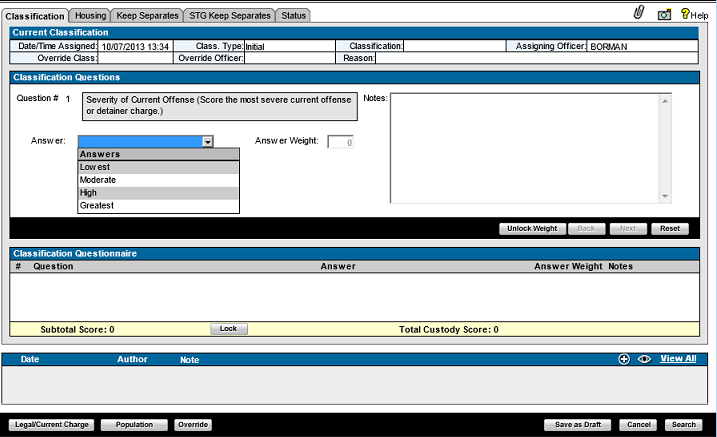
When Adding a Classification, you will enter the answers to a list of pre-established questions. These questions are established by individuals with administrative rights in Settings > Classification Administration.
In a typical work-flow, after the booking process is completed for a new inmate, the Classification questionnaire screen will appear automatically.
To add an initial classification for Enhanced Classification:
You may skip steps 1 through 3 if you were automatically directed to the Classification questionnaire screen through your facility's Adding an Inmate workflow.
Optional: Access the inmate record you want to use.
Optional:
Point to the Housing heading
on the side menu, and click Classification
on the menu that appears.
The Classification browse
screen will appear. If the inmate has not been classified yet, the
browse list will be empty.
Select the Initial Class. button to add an initial classification.
[Note:
Upon accessing
the Initial Classification, the system can be setup to automatically display
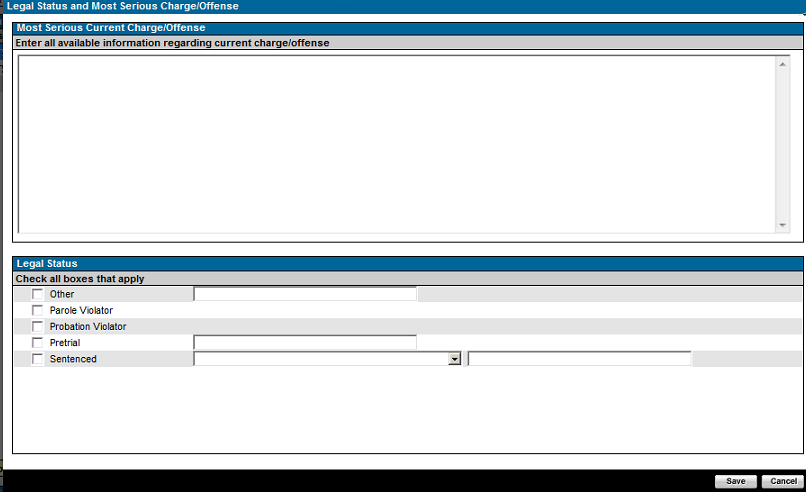
the Legal Status and Most Serious
Charge/Offense pop-up]
The Classification Question
screen will appear, and the first question established in Settings
> Classification Administration will appear in the middle
Classification Questions pane.

The user has the ability to Lock and Unlock the Scored Weight if the inmate scores a predetermined score after the first few classification questions.
Select the Answer box and choose the question's appropriate answer from the dropdown list. If you are not entering any notes for the question, you may double-click on the answer and you will be taken to the next question.
[Note: Notes can be set up to be required for certain questions through Classification Administration.]
The Scored Weight and Answered Weight fields will automatically calculate and display the total value after each question has been answered.
The Answers contained in the list are set up by administrators within Settings > Classification Administration. Negative values are allowed for the Answer Weight.
Depending on how questions and answers are defined within these settings, the Answer list will contain either yes or no, scripted-response entries, or be set up to automatically answer by using stored procedures. Questions with pre-determined, scripted responses will carry a weight, as can yes/no questions. If the question carries a weight, this value will automatically appear in the Answer Weight field after the answer is selected. Negative values are allowed for the Answer Weight.
Optional: Select the Notes box and enter any additional notes.
Click Next to navigate
to the next classification question, or click Cancel
to cancel the classification process.
Once a question is answered, the Question
#, Question, Answer, Question
Weight, and any applicable Notes
will automatically appear in the Classification
Questionnaire list in the bottom browse pane. The total
weight value will be calculated for all answered questions and will appear
beside the Scored Weight
and Answered Weight heading,
in addition to the resulting classification.
[Note: If the Scored Weight has been locked, it may differ from the Answered Weight.]
Optional: Click Back to return to the previous question, or double-click a Classification Question in the bottom browse pane to view or edit its answer.
Optional: Click Reset to reset all answers and notes added to the new classification ("notes" is referring to the multi-line edit field associated with a classification question and answer, and not the Notes Editor pop-up located at the bottom of the page). Upon clicking the "Reset" button, the user will see a warning pop-up in which he or she may either confirm the reset by clicking "Yes" or cancel the reset by clicking "No". Once a classification has been saved, the "Reset" button will be inactive. This will prevent the user from resetting classification answers on an edit.

A pop-up will appear to inform you that you have answered the last question. Click OK to close the pop-up.

Optional: After the last question has been answered users can capture the inmate's signature.
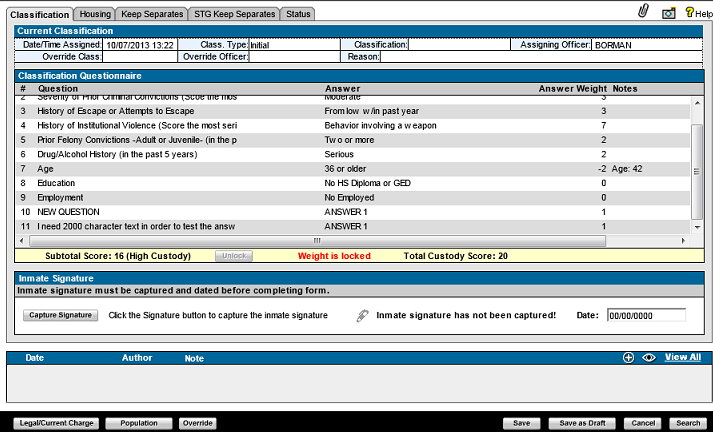
[Note: The system can be setup to warn the user upon save that they have not captured an inmate's signature.]
Optional: Select the Legal/Current Charge button to enter Legal/Current Charge information.

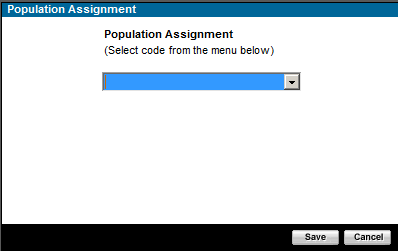
Optional: Select the Population button to select a Population Assignment for the inmate.
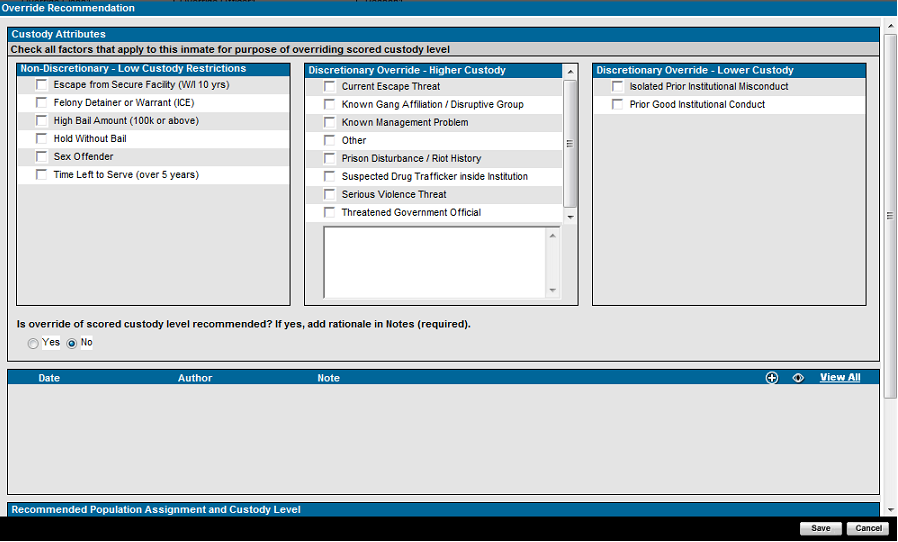
Optional: Override the classification determined by the Classification Questionnaire.
Select Save as Draft to save the classification record if not done working on it. Using Save as Draft will not send the Classification to Review.
Select Save to commit the classification and send the Classification to Review, or click Cancel to abort the process.